

Cleaning up after using a car tyre puncture repair kit is an essential step to ensure the longevity of your tools and the safety of future repairs. As a supplier of Car Tyre Puncture Repair Kits, I understand the importance of proper cleanup procedures. In this blog, I'll share some comprehensive steps and tips on how to clean up effectively after using our repair kits.
Step 1: Safety First
Before you start the cleanup process, it's crucial to prioritize safety. Make sure the vehicle is parked on a flat, stable surface, and the engine is turned off. Engage the parking brake and place wheel chocks behind the tires to prevent any accidental movement. Wear appropriate safety gear, such as gloves and safety glasses, to protect yourself from any potential hazards, like sharp objects or chemicals in the repair kit.
Step 2: Remove the Repair Kit
Carefully detach the puncture repair kit from the tire valve. This may involve unscrewing or unclipping the components, depending on the type of kit you're using. Some kits come with a sealant canister and an inflator, while others may have different configurations. Be gentle to avoid spilling any remaining sealant or damaging the kit.

Step 3: Dispose of Empty Canisters
If your puncture repair kit includes a sealant canister, check if it's empty. Most sealants are designed to be used in one go, and once the canister is empty, it should be disposed of properly. Follow your local waste management regulations for the disposal of aerosol cans. In many areas, these canisters need to be taken to a recycling center or a hazardous waste facility.
Step 4: Clean the Valve Stem
The valve stem is where the repair kit was attached to the tire. Use a clean, dry cloth to wipe away any excess sealant or debris from the valve stem. If there's stubborn residue, you can use a small amount of soapy water and a soft brush to gently clean it. Rinse the valve stem thoroughly with clean water and dry it completely before reinstalling the valve cap.
Step 5: Clean the Inflator (if applicable)
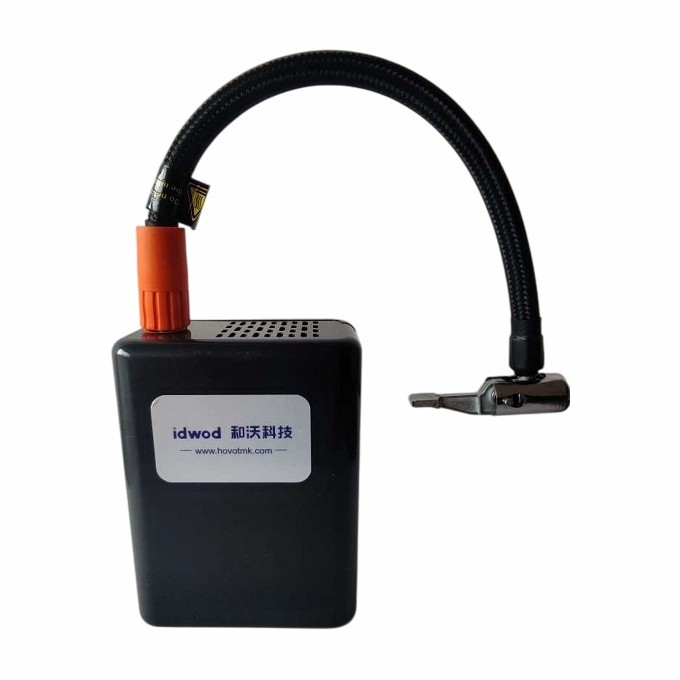
If your repair kit includes an inflator, it's important to clean it to maintain its functionality. Start by disconnecting the inflator from the power source (if it's electric) or removing the air hose (if it's manual). Use a dry cloth to wipe the exterior of the inflator, removing any dirt or sealant splashes. If there's sealant inside the air hose, you can try flushing it with clean water. However, be careful not to get water inside the inflator mechanism, as this could damage it.
Step 6: Clean the Sealant Applicator
The sealant applicator is the part of the kit that delivers the sealant into the tire. After use, it may be clogged with sealant. To clean it, first, remove any excess sealant by squeezing the applicator gently. Then, soak the applicator in warm, soapy water for a few minutes. Use a small brush to clean the inside and outside of the applicator, removing all the sealant residue. Rinse it thoroughly and let it dry completely.
Step 7: Inspect and Store the Repair Kit
Once all the components of the repair kit are clean and dry, inspect them for any signs of damage. Check the hoses for cracks, the inflator for proper functioning, and the sealant applicator for any blockages. If everything looks good, store the repair kit in a cool, dry place. You can use the original packaging or a dedicated storage container to keep the kit organized and protected.
Tips for a Thorough Cleanup
- Work in a well - ventilated area: When cleaning the repair kit, especially if you're dealing with sealant, make sure you're in a well - ventilated space. Some sealants may have strong odors or release fumes, and proper ventilation will help keep the air fresh.
- Use the right cleaning materials: Choose cleaning materials that are compatible with the components of the repair kit. Avoid using abrasive cleaners or solvents that could damage the plastic, rubber, or metal parts.
- Keep spare parts handy: It's a good idea to keep some spare parts, such as valve caps or O - rings, on hand. These can be easily replaced if they get damaged during the cleanup or future use.
Our Product Range
As a leading supplier of Car Tyre Puncture Repair Kits, we offer a wide range of products to meet your needs. Our Car Tire Sealant and Inflator is designed to quickly and effectively repair punctures in car tires. It's easy to use and comes with all the necessary components for a successful repair.
In addition to our car products, we also have E - Bike Tire Sealant and Inflator and Road Bike Tire Sealant and Inflator for cyclists. These kits are specifically formulated for the unique requirements of e - bike and road bike tires, providing reliable puncture repair on the go.
Contact Us for Procurement
If you're interested in purchasing our Car Tyre Puncture Repair Kits or have any questions about our products, we'd love to hear from you. Whether you're a retailer looking to stock our products or an individual in need of a reliable puncture repair solution, we can provide you with the information and support you need. Please feel free to reach out to us to start a procurement discussion.
References
- Automotive Repair Manuals: General guidelines on tire repair and maintenance.
- Local Waste Management Regulations: For proper disposal of aerosol cans and other components.