

Hey there, e - bike enthusiasts! I'm an e - bike tire sealant supplier, and I know how important it is to keep your e - bike tires in top - notch condition. Sometimes, you might find that you need to add more tire sealant to your e - bike tires. In this blog, I'm gonna walk you through the steps to do just that.
Step 1: Gather Your Tools
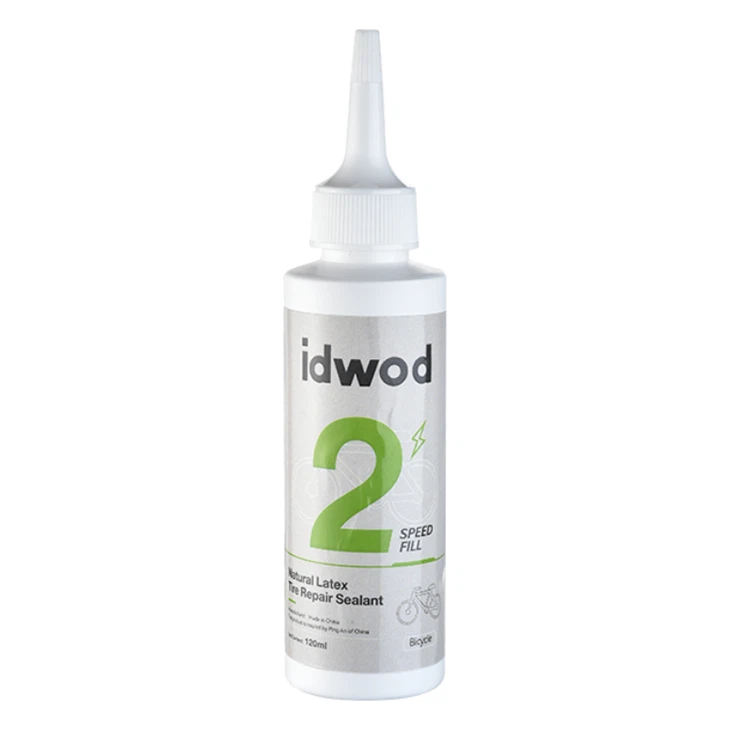
Before you start adding more sealant, you'll need to gather a few tools. First off, you'll obviously need the e - bike tire sealant. We offer high - quality Scooter Tire Sealant that's specifically designed for e - bikes. It can quickly seal punctures and keep your tires rolling smoothly.
You'll also need a valve core remover. This little tool is super important as it allows you to remove the valve core, which is necessary for adding the sealant. A syringe is another must - have. You can use it to inject the sealant into the tire. And don't forget a tire pressure gauge. You'll want to check the tire pressure before and after adding the sealant.
Step 2: Take Safety Precautions
Safety should always be your top priority. Make sure your e - bike is on a stable surface. If possible, use a bike stand to keep it upright. Turn off the e - bike to prevent any accidental movement.
Wear some gloves to keep your hands clean. Tire sealant can be messy, and getting it on your hands is no fun. You might also want to wear some eye protection in case the sealant splashes while you're adding it.
Step 3: Remove the Valve Core
Once you've got your tools and taken safety precautions, it's time to remove the valve core. Use the valve core remover to gently unscrew the valve core from the valve stem. Be careful not to lose the valve core, as you'll need to put it back later.
Removing the valve core will let the air out of the tire slowly. This is important because it will make it easier to add the sealant later. You don't want the tire to be fully inflated when you're trying to inject the sealant.
Step 4: Determine the Amount of Sealant
The amount of sealant you need depends on the size of your e - bike tires. Generally, a smaller tire might need around 2 - 3 ounces of sealant, while a larger one could require 4 - 5 ounces. Check the manufacturer's recommendations on the sealant bottle for more accurate guidance.
As an e - bike tire sealant supplier, I can tell you that using the right amount of sealant is crucial. Too little, and it might not be able to seal punctures effectively. Too much, and it could make the tire heavier and affect the performance of your e - bike.
Step 5: Inject the Sealant
Now it's time to use the syringe. Fill the syringe with the appropriate amount of sealant. Insert the tip of the syringe into the valve stem where you removed the valve core. Slowly push the plunger of the syringe to inject the sealant into the tire.
Make sure to do this slowly and steadily. If you push too hard, the sealant might splash out. You can rotate the tire a bit while injecting the sealant to help it spread evenly inside the tire.
Step 6: Replace the Valve Core
After you've added the sealant, it's time to put the valve core back in. Use the valve core remover to screw the valve core back into the valve stem. Make sure it's tightened properly, but don't over - tighten it.
Step 7: Inflate the Tire
Once the valve core is back in place, it's time to inflate the tire. Use a bike pump to add air to the tire. Keep an eye on the tire pressure gauge and inflate the tire to the recommended pressure. This information can usually be found on the sidewall of the tire.
Inflating the tire will help distribute the sealant evenly inside the tire. You can also roll the e - bike back and forth a few times to further help the sealant spread.
Step 8: Check for Leaks
After inflating the tire, it's a good idea to check for any leaks. You can do this by spraying a soapy water solution on the valve stem and around the tire. If you see any bubbles forming, it means there's a leak.

If you find a leak, you might need to add a bit more sealant or check if the valve core is tightened properly. Sometimes, a small leak can be fixed by just adding a little extra sealant.
Step 9: Monitor the Tire
Once you've added the sealant, inflated the tire, and checked for leaks, it's important to monitor the tire over the next few days. Keep an eye on the tire pressure. If you notice that the tire is losing pressure quickly, it could mean that there's still a problem.
Regularly checking the tire will also help you see how well the sealant is working. If you get a puncture, the sealant should be able to seal it quickly.
Step 10: Consider Regular Maintenance
Adding more sealant is part of regular tire maintenance. We also offer Electric Motorcycle Tire Sealant and Road Bike Tire Sealant for different types of bikes.
As a general rule, you should check your e - bike tire sealant at least once every few months. If you do a lot of riding, you might need to check it more often.
In conclusion, adding more e - bike tire sealant is not a difficult task if you follow these steps. It can save you a lot of hassle in the long run by preventing flat tires. If you have any questions about our e - bike tire sealant or need more information on tire maintenance, feel free to reach out. We're here to help you keep your e - bike tires in great shape. Whether you're a casual rider or a serious cyclist, having a reliable tire sealant is essential. So, don't hesitate to contact us for all your e - bike tire sealant needs. We look forward to doing business with you!
References
- General knowledge about e - bike tire maintenance
- Product specifications of e - bike tire sealant