

Hey there, fellow motorcycle enthusiasts! As a supplier of Motorcycle Puncture Repair Kits, I've seen it all when it comes to fixing those pesky flat tires on the road. In this blog, we're gonna talk about the safety precautions you should take when using a motorcycle puncture repair kit.
First off, let's understand why safety is so important. When you're out on the road and get a flat tire, it can be a real hassle. But rushing to fix it without taking the right precautions can lead to more problems, or even worse, put you in danger.

Preparation Before Using the Kit
Before you even think about using the puncture repair kit, you need to find a safe place to pull over. It's crucial to get your bike off the main road and onto a stable surface. A shoulder or a parking lot away from traffic is ideal. Make sure your motorcycle is parked upright and won't tip over while you're working on it.
Once you've parked safely, put on some protective gear. Gloves are a must - they'll protect your hands from sharp objects like nails or glass that might be stuck in the tire. Safety glasses are also a good idea to shield your eyes from any debris that could fly up during the repair process.
Inspecting the Tire
Before you start using the repair kit, take a good look at the tire. Check for the size of the puncture. If it's a large hole, say bigger than a quarter - inch, the puncture repair kit might not be enough. In such cases, it's better to call for professional help. You can also look for any signs of damage other than the puncture, like sidewall cuts or bulges. If you notice any of these, it's best not to attempt a repair with the kit and instead get a new tire.
Using the Sealant
Most motorcycle puncture repair kits come with a sealant. When using the sealant, follow the instructions carefully. First, make sure the valve stem on the tire is clean. You can use a little bit of rubbing alcohol to clean it if it's dirty. Then, attach the sealant container to the valve stem as directed.
Some sealants need to be shaken well before use. Do this for at least a minute to make sure the contents are properly mixed. Once you've attached the container, squeeze the sealant into the tire. This might take a bit of effort, but be patient. After you've added the sealant, remove the container from the valve stem and quickly put the valve cap back on.
It's important to note that sealants can be messy. If you spill any on your hands or clothes, wash it off right away. Some sealants can be harmful if they come into contact with your skin for too long.
Inflating the Tire
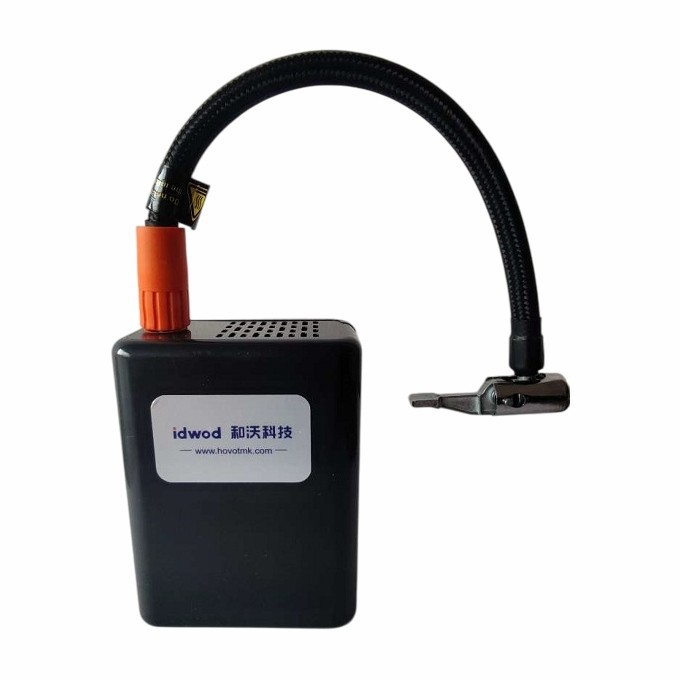
After adding the sealant, it's time to inflate the tire. You can use a hand pump or an air compressor, depending on what's available. If you're using a hand pump, it'll take some elbow grease, but it gets the job done. If you have an air compressor, make sure it's set to the correct pressure for your tire. You can find the recommended tire pressure on the side of the tire or in your motorcycle's owner's manual.
Don't over - inflate the tire. Over - inflation can cause the tire to burst, which is extremely dangerous. Keep an eye on the pressure gauge as you're inflating the tire. Once you've reached the recommended pressure, stop inflating and remove the pump or compressor.
Testing the Repair
Once you've inflated the tire, give it a quick test. Roll the motorcycle forward and backward a few feet to distribute the sealant evenly inside the tire. Then, check the valve stem to make sure there are no leaks. You can do this by applying a little bit of soapy water around the valve stem. If you see bubbles forming, there's a leak, and you'll need to try the repair again or seek professional help.
After the Repair
After you've successfully repaired the tire, don't go straight back to high - speed riding. Drive slowly for the first few miles to make sure the sealant has properly sealed the puncture. Keep an eye on the tire pressure over the next few days. If you notice a significant drop in pressure, it could mean the repair didn't hold, and you'll need to take further action.
Different Types of Bikes and Their Kits
We also offer Mountain Bike Tire Sealant and Inflator for those who love off - road adventures. Mountain bikes often encounter rough terrain, and flat tires are quite common. Our sealant and inflator kit for mountain bikes is designed to handle the unique challenges of these tires.
For electric motorcycle riders, we have the Electric Motorcycle Tire Sealant and Inflator. Electric motorcycles have different tire requirements, and our kit is tailored to meet those needs.
And if you ride a tricycle, we've got you covered too with the Tricycle Tire Sealant and Inflator. Tricycle tires are different from regular motorcycle tires, and our kit is designed to work effectively on them.
Contact for Purchase and Consultation
If you're interested in our Motorcycle Puncture Repair Kits or have any questions about using them safely, feel free to reach out. We're here to help you keep your rides safe and hassle - free. Whether you're a casual rider or a professional, our kits are designed to meet your needs.
References
- Motorcycle Maintenance Manuals
- Safety Guidelines from Motorcycle Manufacturers
- Industry Standards for Puncture Repair Kits